5min Quick Start
Eager to dive right in and get started as quickly as possible? Keep reading to learn how you can create a simple Showpad App in less than 5 minutes.
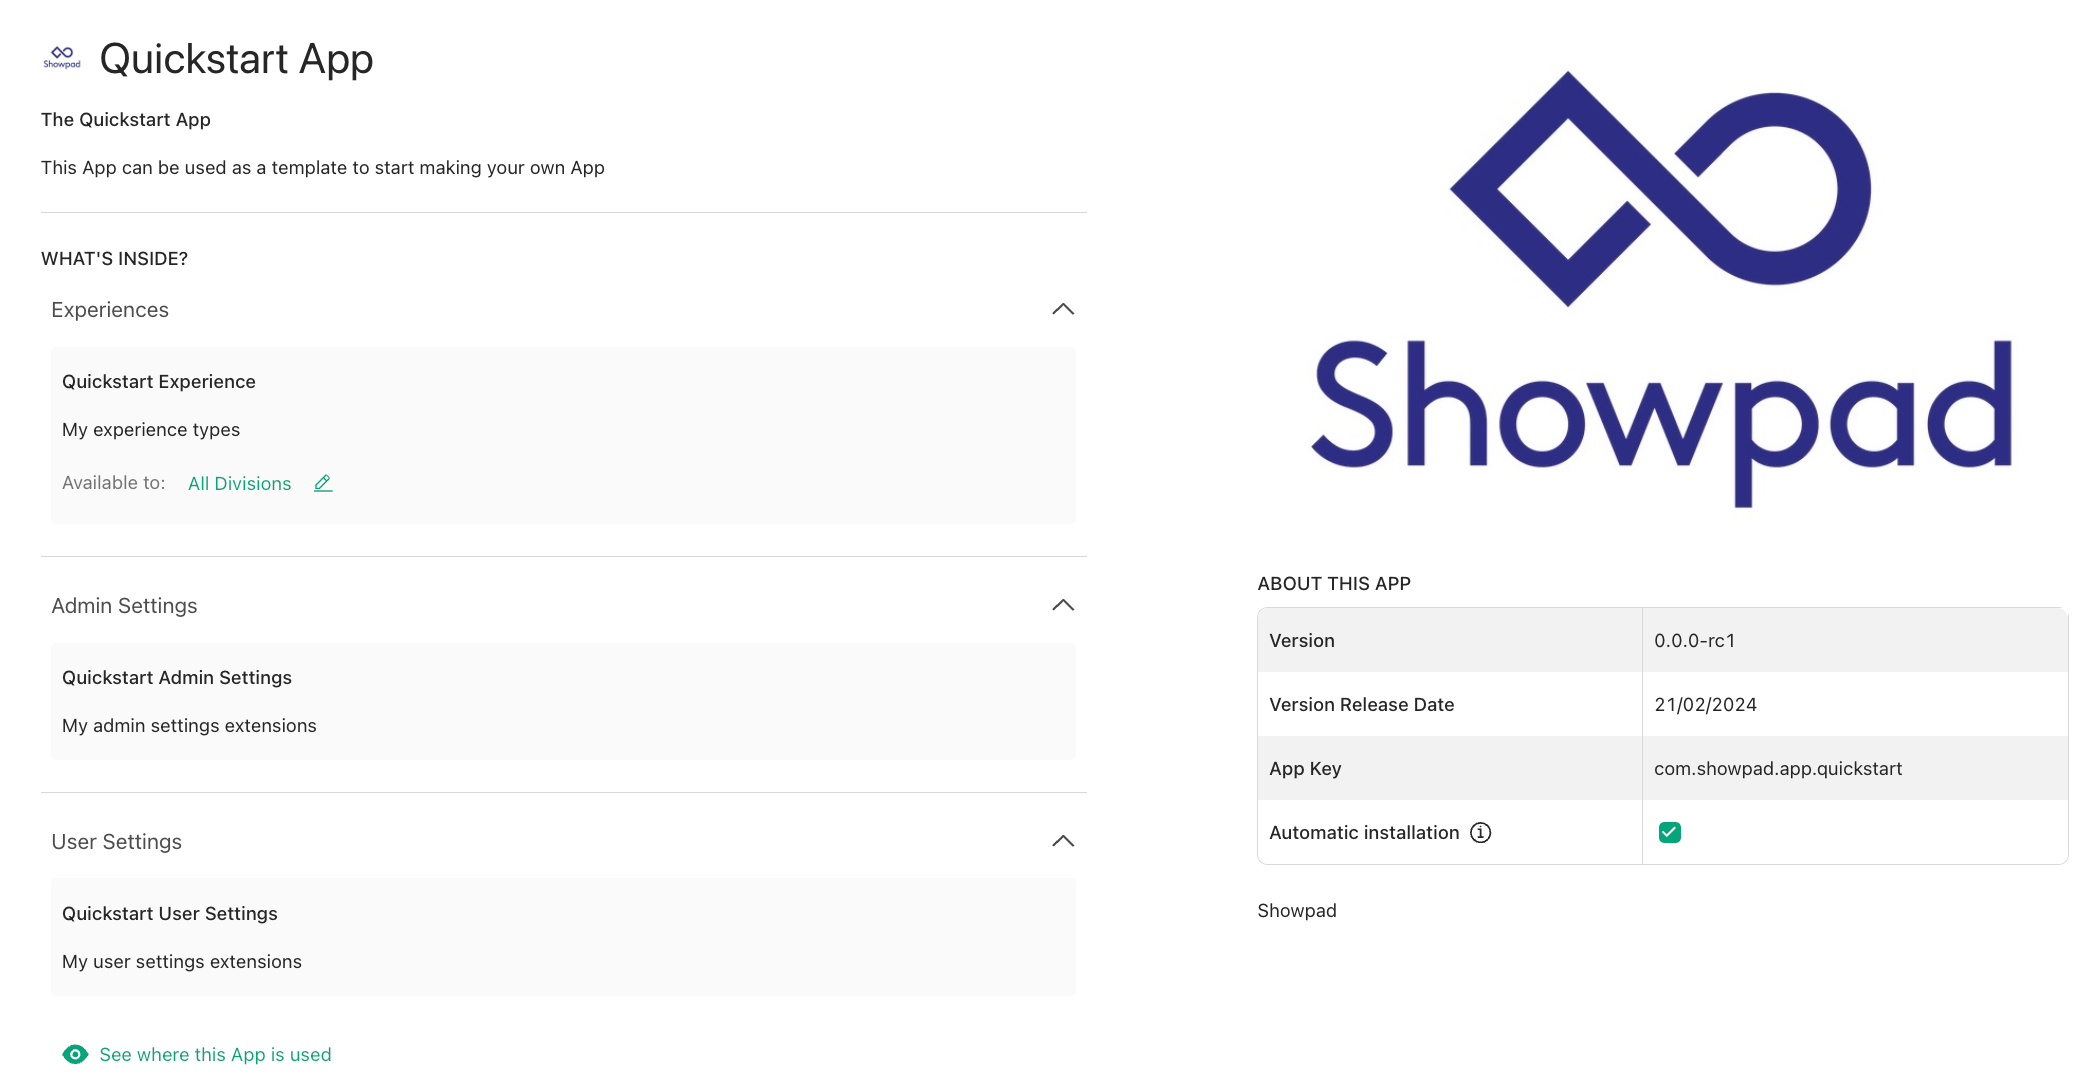
What you'll learn:
- How to clone and configure a Showpad App template from GitHub
- How to build, bundle, and upload your app with the Showpad CLI
- How to test each extension type locally using dev mode
This tutorial walks you through:
- building a Showpad App with three Extension Types
- bundling and uploading your app with the Showpad CLI
You'll find the app template with all the files required to run, test and bundle your App in this GitHub repository.
No frameworks or UI kits are needed for this tutorial. The examples here use vanilla TypeScript to keep the app as light as possible. To scaffold, run, and build the app, we'll use Vite (you can use the tooling of your choice to achieve these tasks).
Development
- HTML & JavaScript knowledge
- a Code Editor (we recommend Visual Studio Code)
- Node.js 15+
- Git
Showpad
- Plan: Ultimate | Advanced or Expert
- Permissions: Administrator access to Showpad's Admin App
1. Initialize App
-
Clone the GitHub Respository
To initialize your App you’ll have to clone this Git repository to the folder of your choice:
git clone https://github.com/showpad-developer/apps-v2-quick-start -
Install NodeJS Dependencies
In your folder of the cloned repository, run the following command:
npm installThis will install:
- the Showpad CLI,
- the Experience App SDK, and
- Vite (the tool used to scaffold, run and build the App).
-
Login to Showpad
Next, you need to connect to your Showpad environment. Run the following command and follow the prompt:
npx showpad logincautionYour token must have the Automatically refresh access tokens scope enabled.
See the Commands Overview for in-depth information about the
logincommand. -
Update the Manifest
In the cloned repository's
manifest.jsonfile, update the following fields with your values:appKeynamedescriptiondeveloper
See The Manifest File for more information.
2. Define App logic
The folders of your app's Extensions contain the logic of your app:
Each of these folders contains an index.html and src/main.ts. This is where you write the code for your Extensions:
This code waits for the SDK to be ready, retrieves the logged-in user's name, and displays an error toast if anything fails.
3. Build Your App
In the root folder of your app, run the following command:
npm run build
This will generate a distribution folder containing the resources of your Extensions.
4. Bundle Your App
To generate a Showpad package of your app, run the bundle command:
npm run bundle
This will generate the <your-app-key>.0.0.1.showpad file in your app's root folder.
5. Upload to Showpad
In the root folder of your app run the upload command:
npx showpad apps upload <your-app-key>.0.0.1.showpad
For more details about uploading your app to Showpad, see Upload Package to Showpad.
By uploading the app to your own organization via the Showpad CLI, you don't need to assign it.
6. Install & View Your App
Now you can install your app through the Admin App.
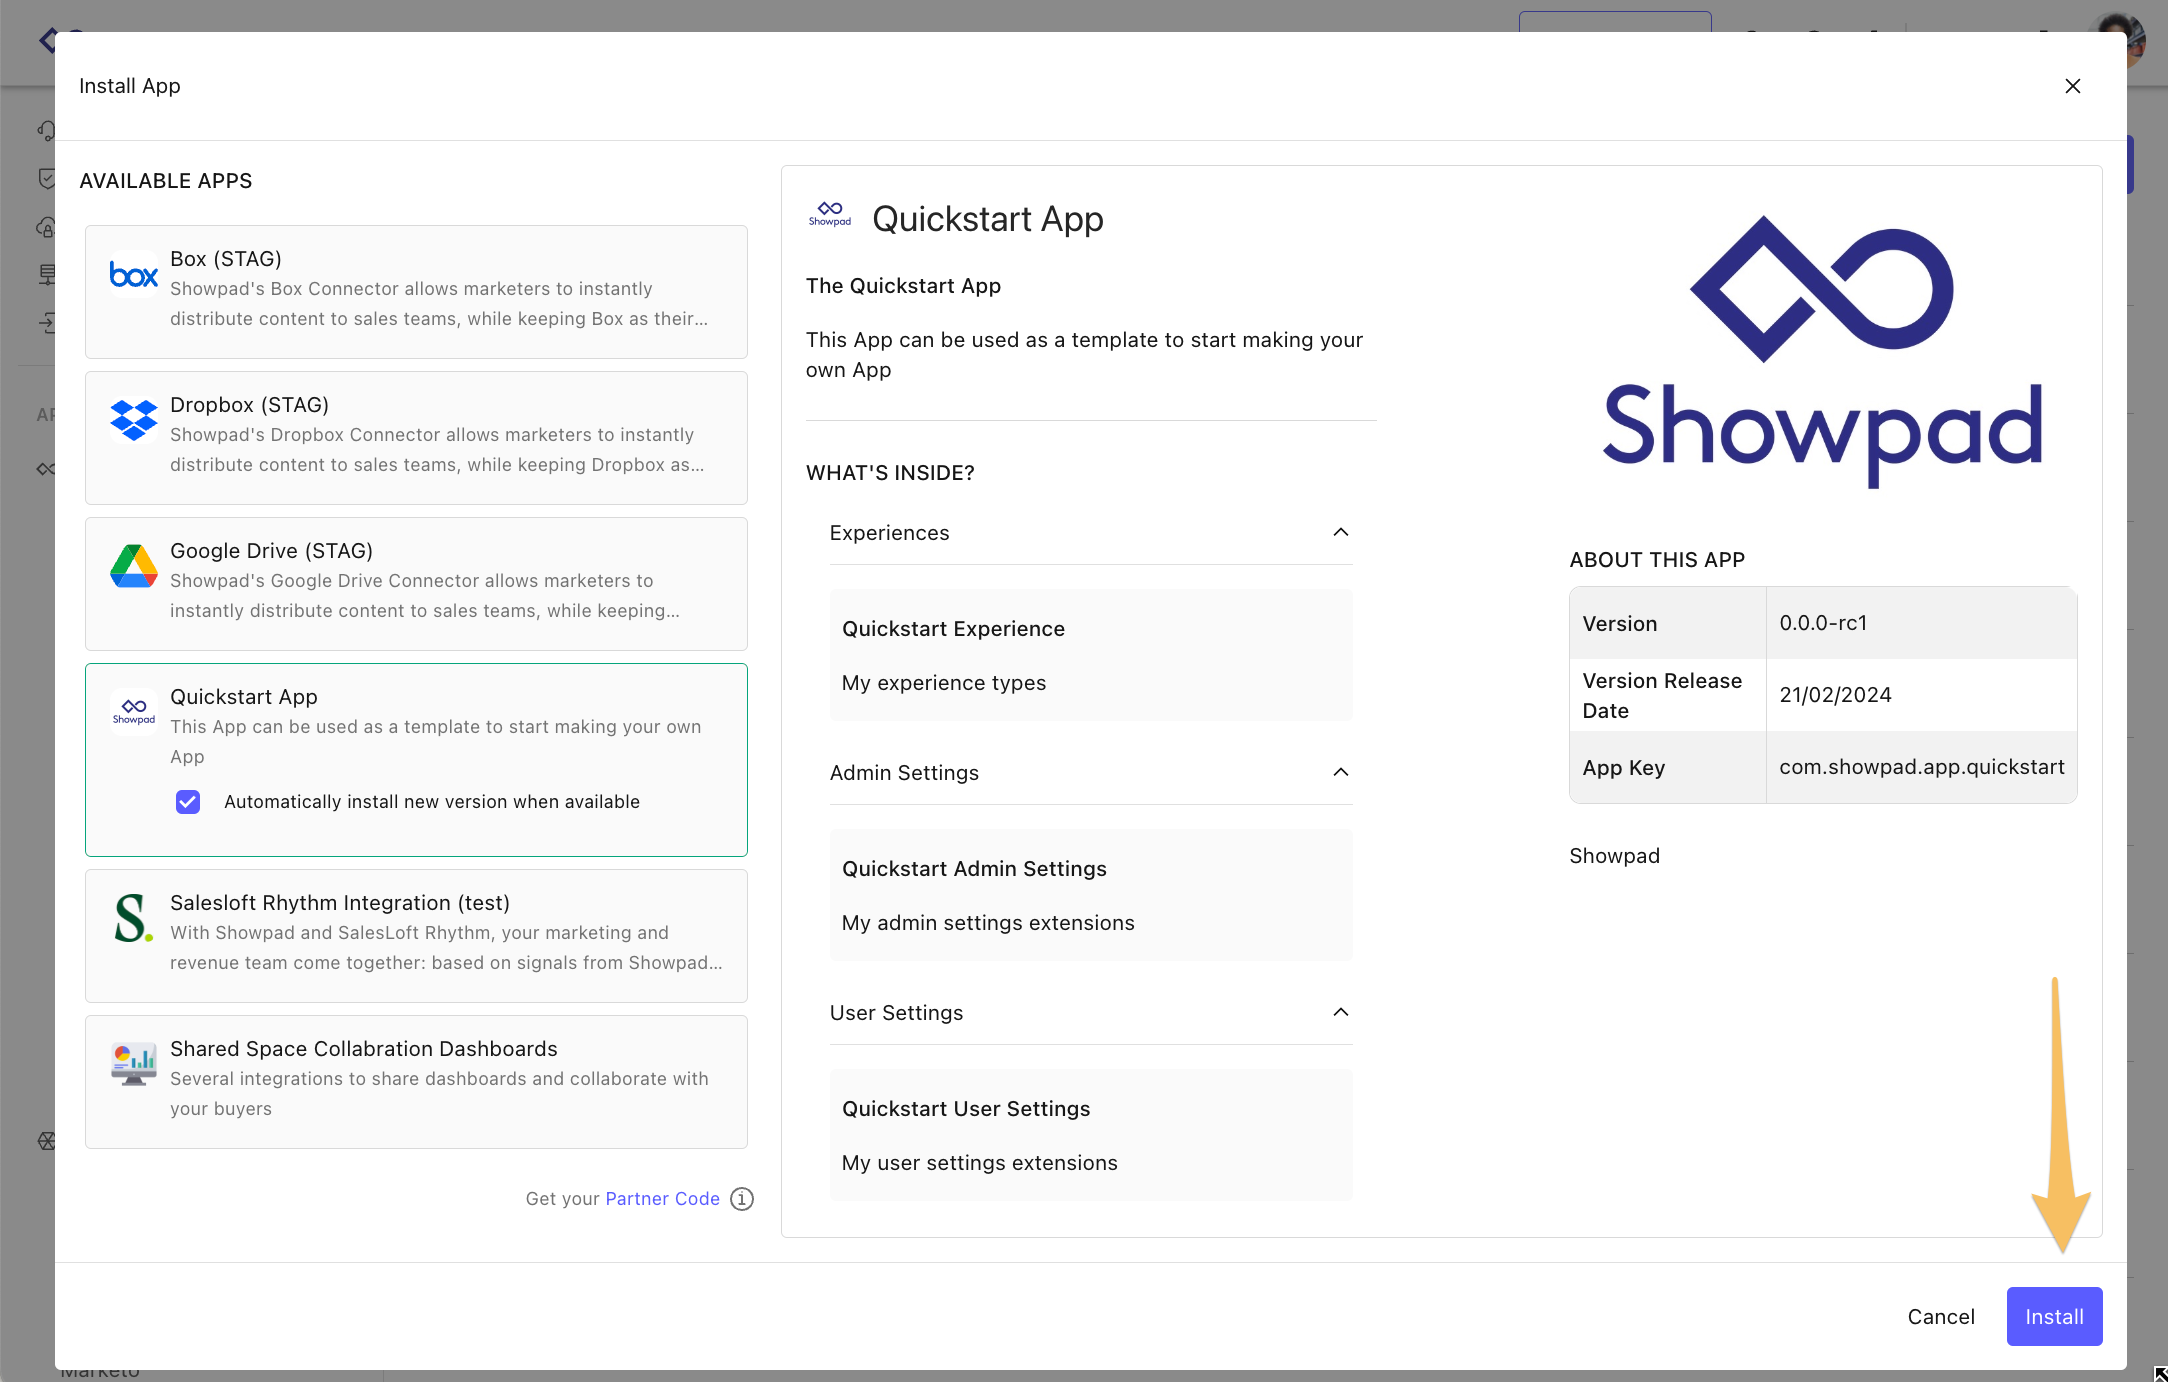
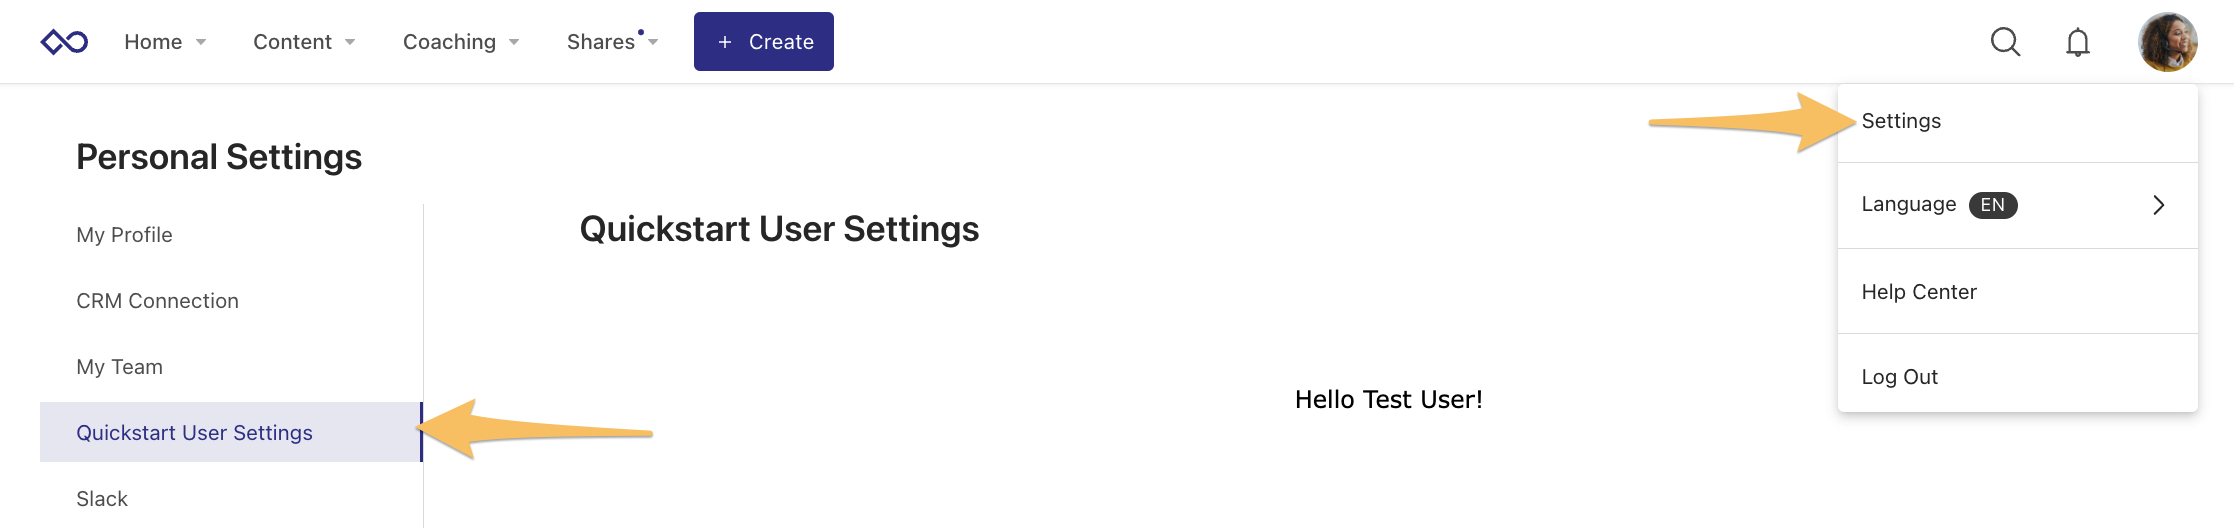
Once your app is installed, you should see the following enhancements in the Showpad platform:
-
A new entry in the Admin App's Settings menu:
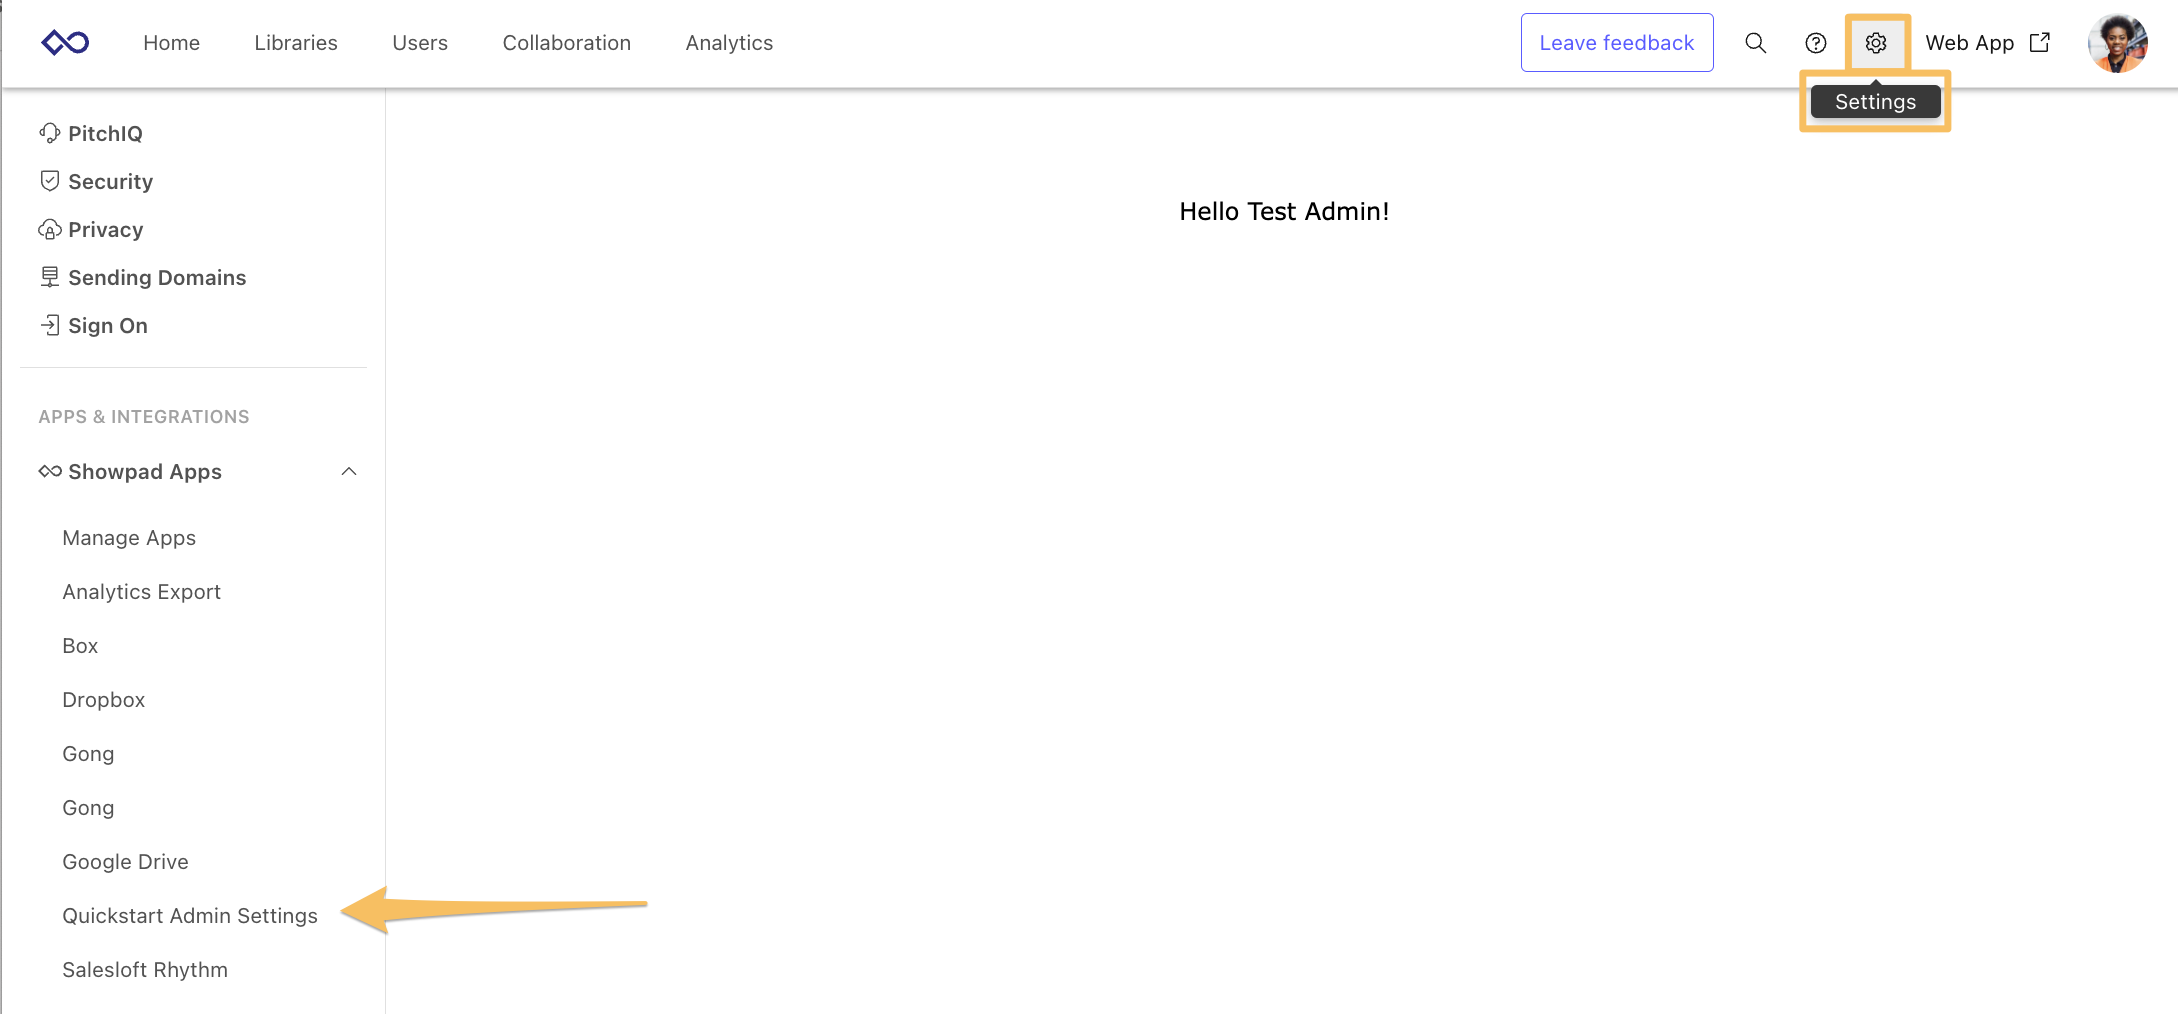
-
A new option when creating an Experience:
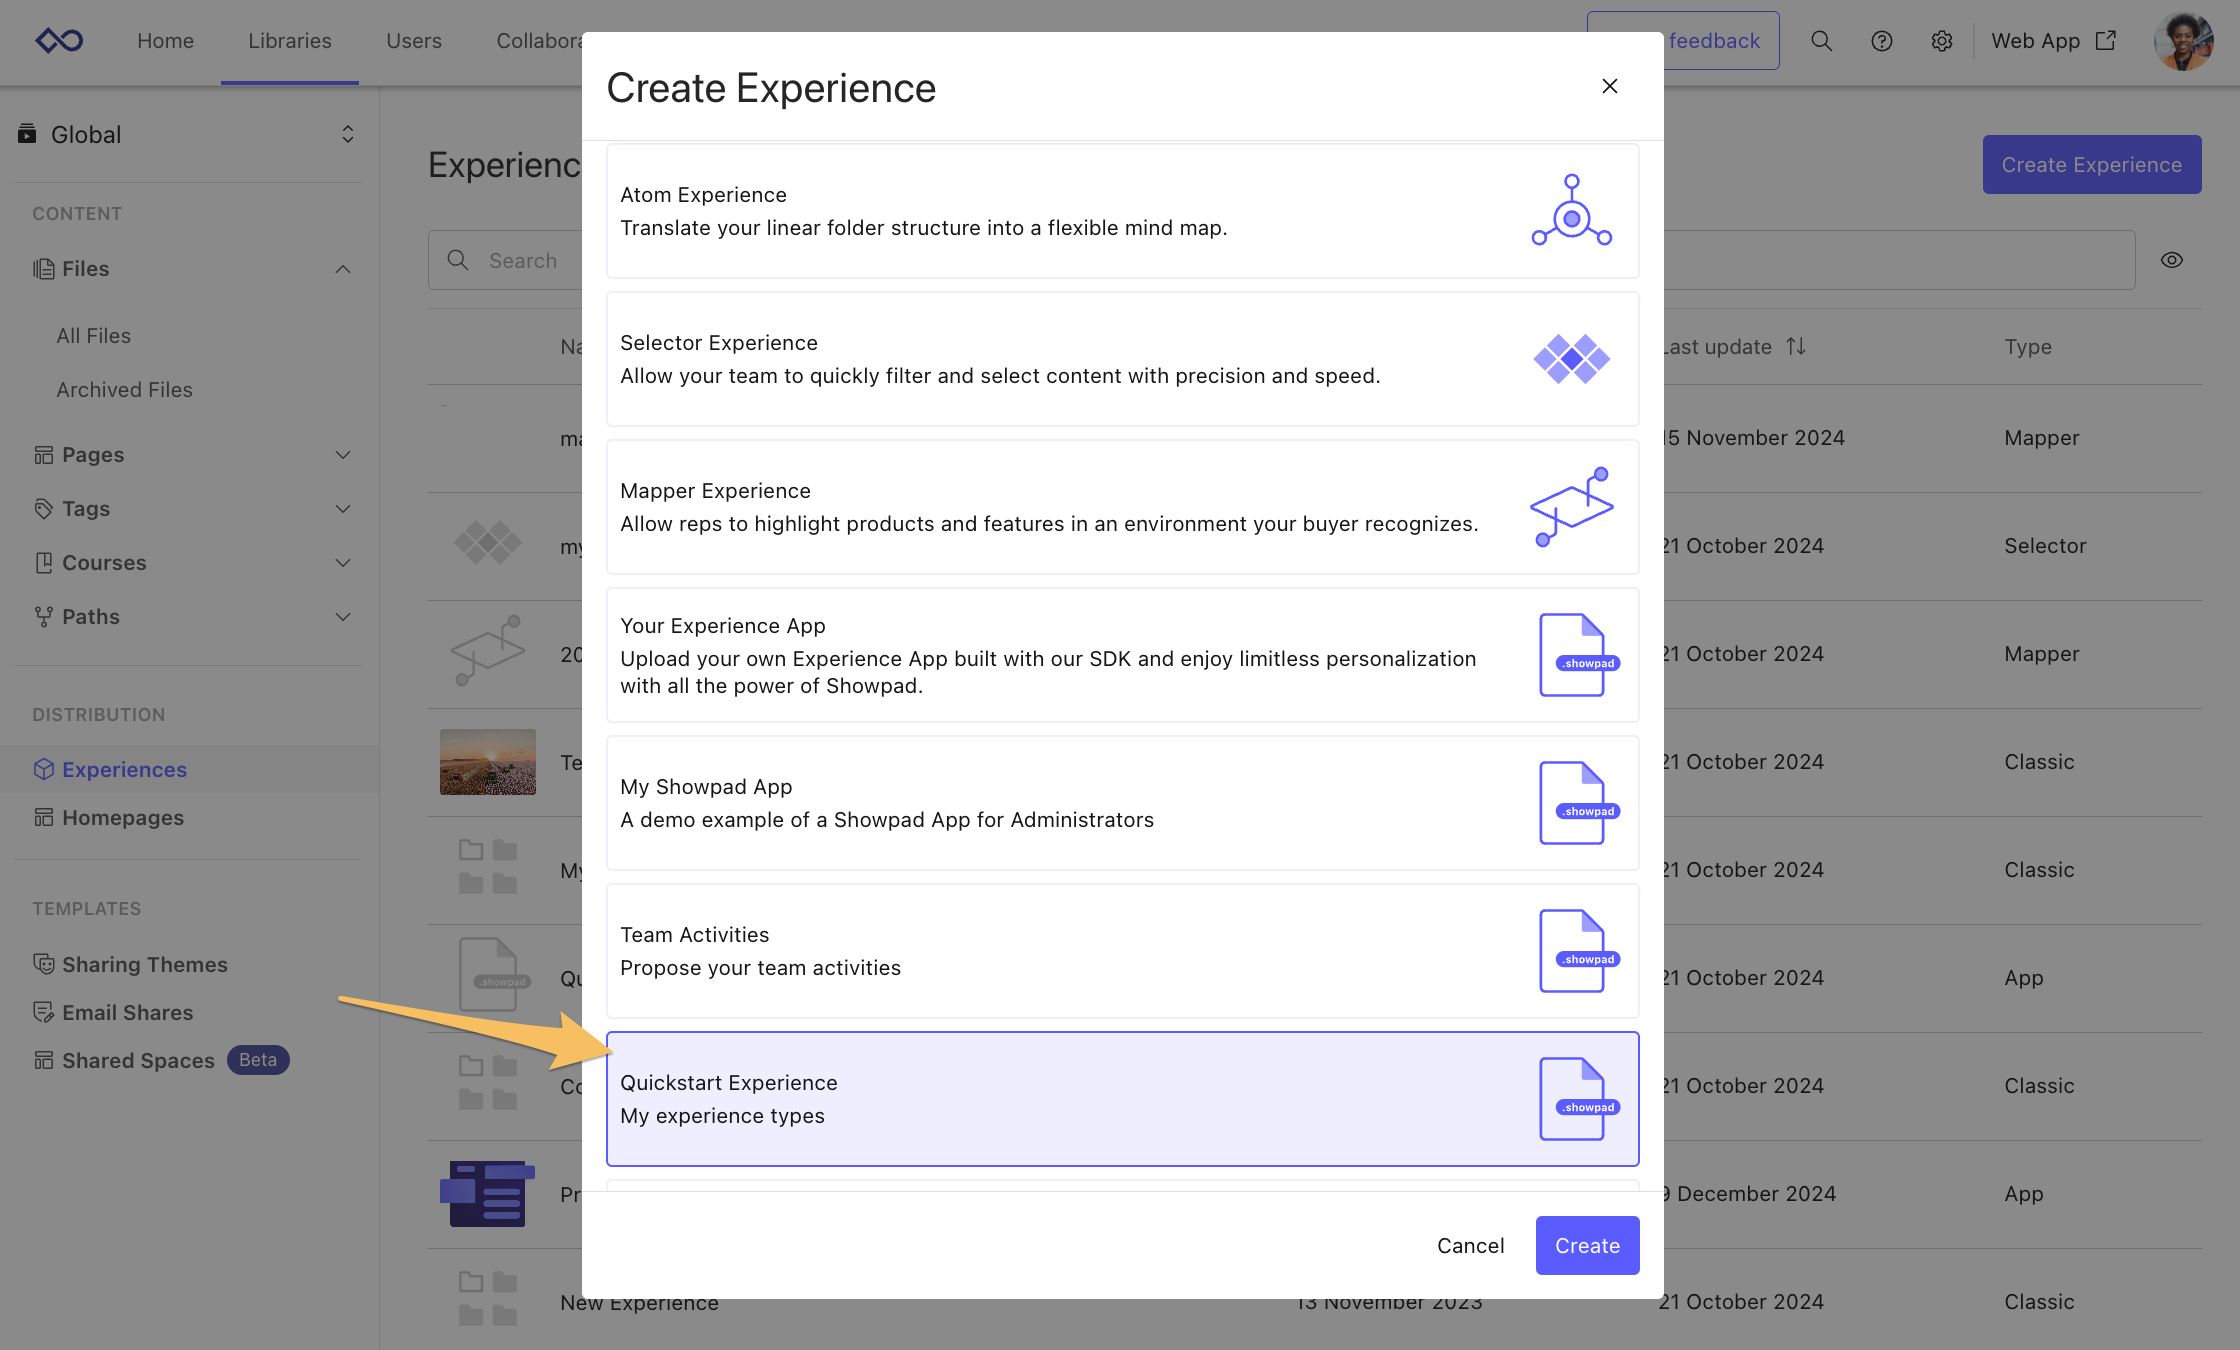
-
A new entry in a user's Settings in the Web App:
7. Local Testing
Each extension type has its own testing flow. The following descriptions explain how to test each of the extensions in this tutorial.
When you're comfortable with the basics, check out the Advanced - Team Activities App tutorial.
Was this page helpful?